-
I Made a Time Tracking Macropad!

After building my 36 key keypad, I realised I barely used most of the keys. It felt like overkill. There were also a few things…
-
I made a Neon Sign!
32x32cm custom printed sign with COB LEDs and Glow-in-the-Dark 3D printed filament
-
I MADE A 36 Key MacroPad!

Have had this on my desk for several months now. My intension here was just to get a lot of random shortcuts that I could…
-
I Designed a Frame!
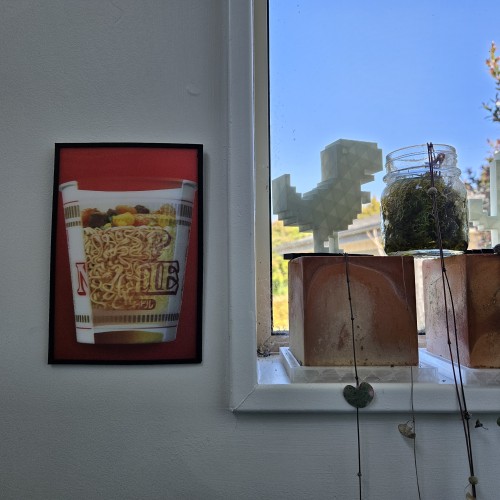
3D-printed 4×6″ printed media frame
-
I 3D Printed myself… again!
v2, scale: 1:10
-
I Made Giant Buttons for a TV Remote!
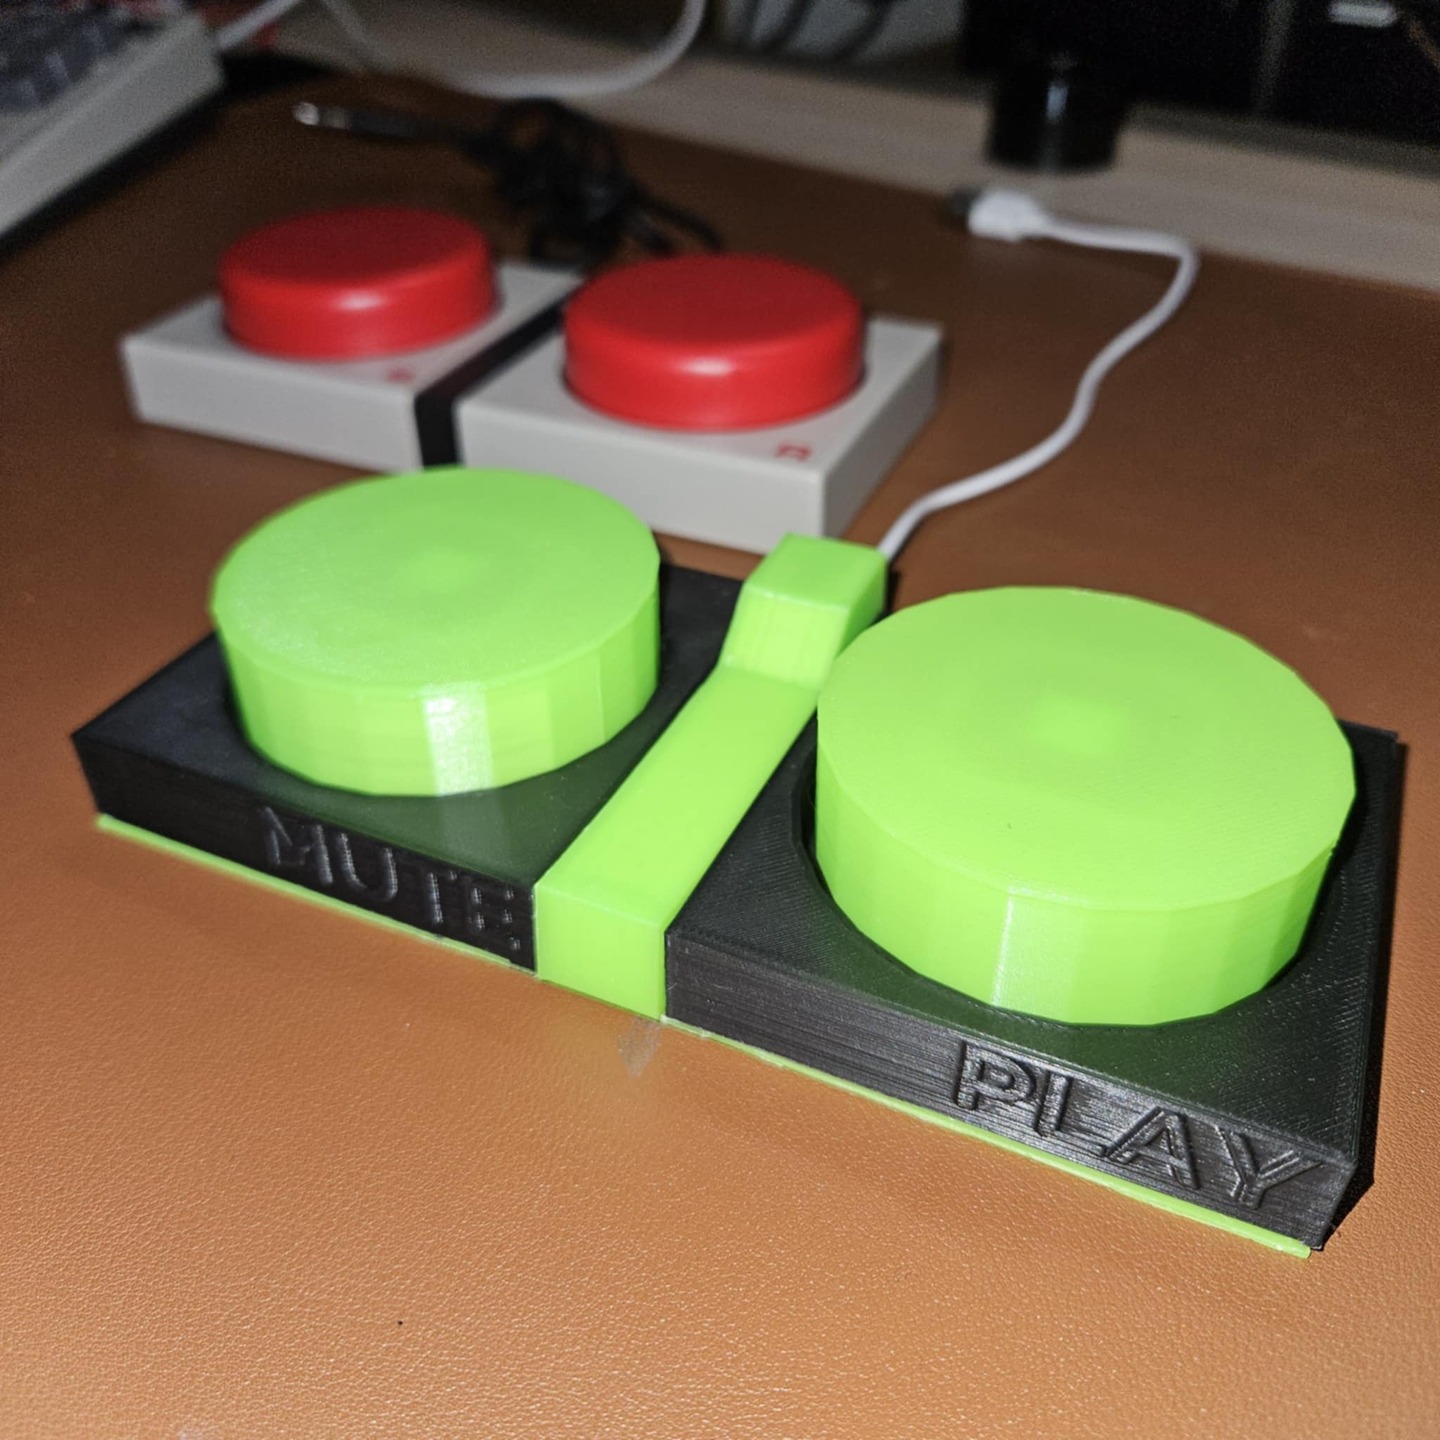
Clone of a 8bitdo giant button controller
-
I 3D Printed myself!

v1, scale: 1:12
-
I turned a NES controller into a TV Remote!
NES TV Controller
-
I made a chrome plugin for Seek!
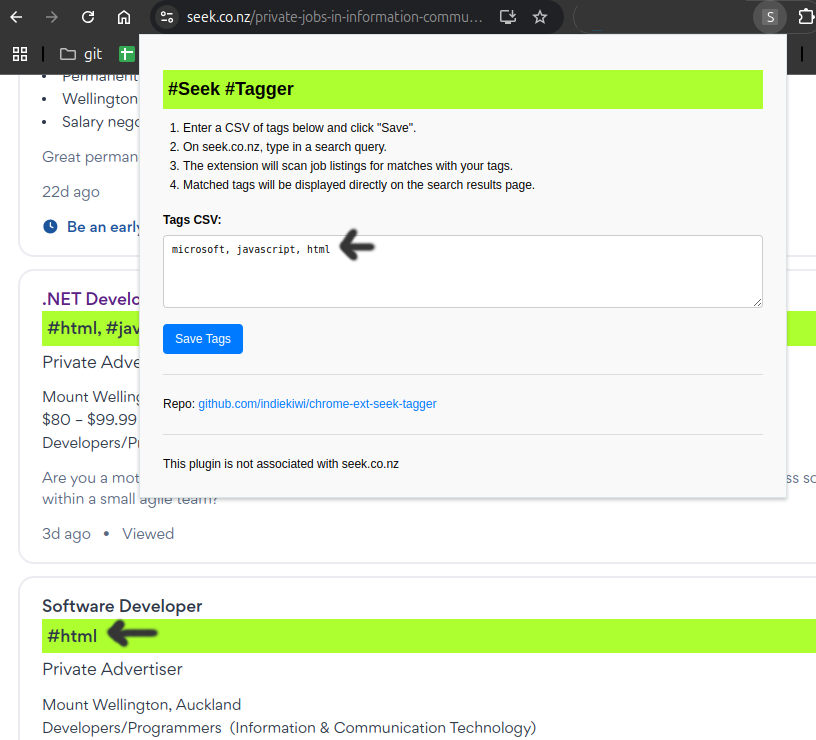
Highlight job posting keywords from the search page.
-
I made a Wigglegram camera!
3 lens camera using a Raspberry Pi4B, 3D-printing and Python.
-
Wigglegram – Peace Selfie
-
I built a Bartop Arcade!
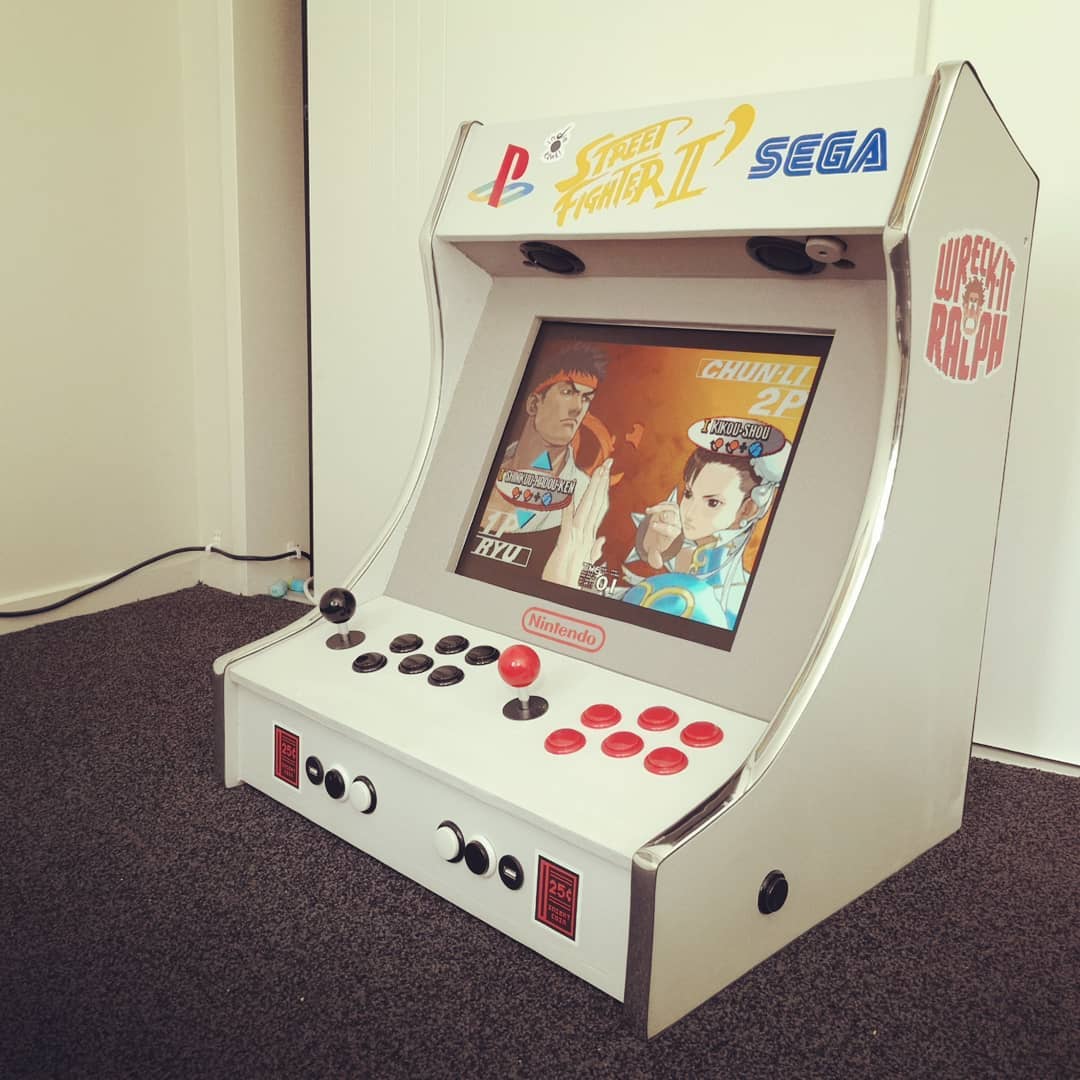
INSERT COIN!
-
Game: Voyage MMVI
-
Game: Flat Bubble
-
Game: CMYK Slime
-
4LLEN Star Logo

-
My Initials: “AW” Logo Design
Designed in 2009